For my kids birthday party they wanted to have a lollipop party. I immediately thought of those giant swirly whirly lollipops that you see at old fashioned candy shops and that’s what I wanted to use to decorate. Well I found out those are expensive and full of lots of not so good ingredients. So what’s a mom to do but decide to make them herself! It was a fun adventure making lollipops and I am happy we accomplished what I set out to do. We made Swirly Whirly Lollipops!
Here’s How:
Recipe: Makes about 20 1” lollipops 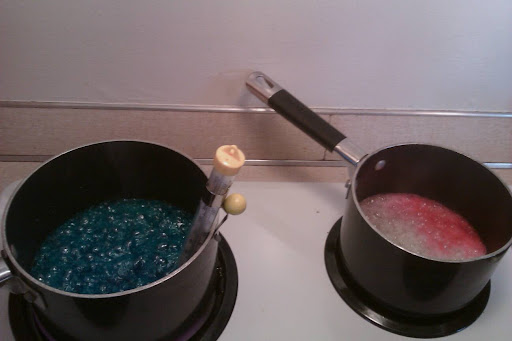
3 cups Sugar
1/2 cup Water
3/4 cup Lt. corn syrup
1/4 teaspoon Cream of tartar
1-2 different flavoring oils (about 1 tsp each)
2 different colors (about 1/8-1sp each)
You will need to adjust the amount of flavoring and coloring depending on how strong they are. I found that using the paste colors from a candy/cake making store I had to use less than 1/8 teaspoon. However when using the food coloring in the little red topped tubes from the grocery store took over 1tsp.
I came up with this recipe by adapting this candy cane recipe.
Step One: Set up everything! Oil everything (I found vegetable oil worked best). Make sure all your ingredients are ready to go.
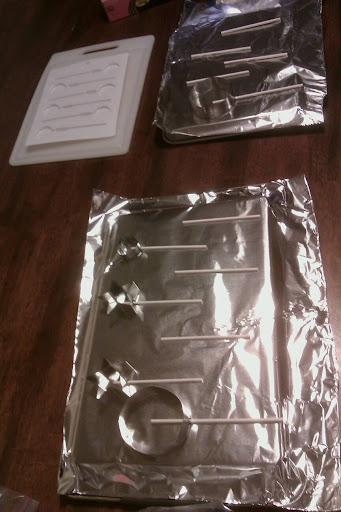
Here are my molds sitting on top of upside down cookie sheets covered in foil. This helps them cool faster. I found that the molds did not work well (too many lollipops broke getting them off the mold). However the plastic mold you see in the background worked well. Be sure everything is covered in oil and lay all your sticks out. I found it was easier to just poor the syrup on the sticks instead of using the molds for regular lollipops.
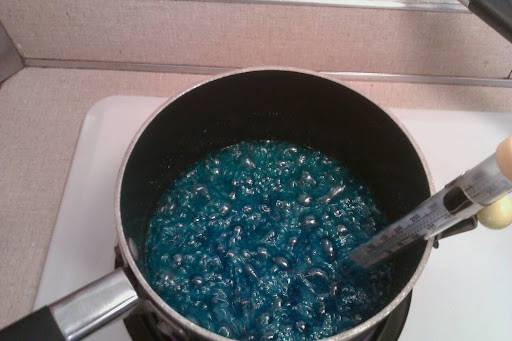
 Step 2: Start heating the sugar, corn syrup, cream of tartar and water on the stove. You heat until the sugar dissolves then transfer it to 2 pots and add flavor and color. This is when you turn up the heat on the burner and use your candy thermometer to get the syrup up to temperature (300 for regular lollipops, 280 for swirly pops)
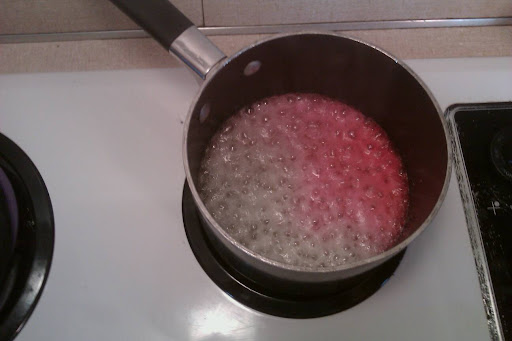
You can see the color mixing into the syrup. This happens without stirring. It is important that you do not stir the syrup after the sugar dissolves.
Regular Lollipops: Once the syrup reaches 300 degrees for regular lollipops you remove the pan from the heat and pour the syrup slowly onto 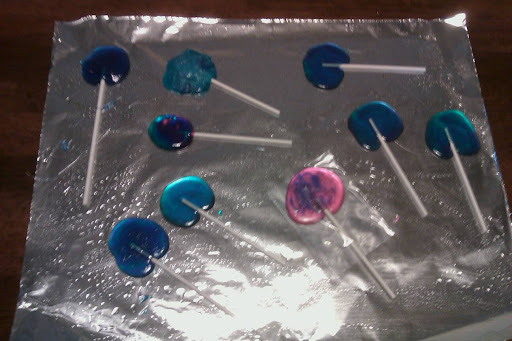 your molds and sticks. It pours very slowly so it is not hard to get nice sized circles this way for your lollipops. Be very careful it is extremely hot! Also you have to move some what quick because it starts to cool very quickly and of course it hardens as it cools.
Swirly Lollipops:
Once the syrup reaches 280 degrees you remove it from the heat. Now here is where it gets tricky and I admit I didn’t find the perfect solution. I tried pouring the syrup out in a big mound onto oiled foil in a cookie sheet and then moving it around as it cools so it does not harden. I also tried leaving it in the pot but it seemed to stay hot a lot longer this way. Anyway You need it to cool just enough to touch it but not so much that it gets hard. At this 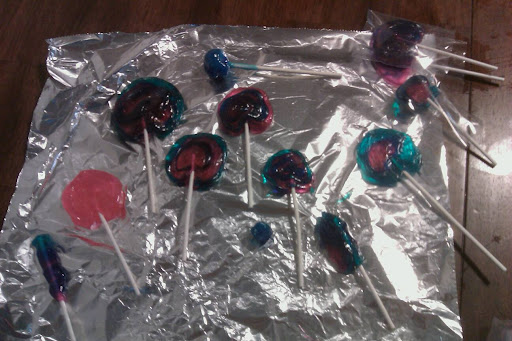 point (I have no pics because you have to move fast). You cover your hands in oil and take a small pinch of each color. Roll it into a rope and then form the rope into a circle and stick a stick into the end to make a swirly pop. You can also experiment with different shapes!
This is hard work because you have to pretty much touch the syrup before it is cool enough to touch and then you have to work fast. It helps to have an extra set of adult hands to help. My daughter was able to make one or two lollipops (she’s 4) once the syrup cooled enough for her to touch. Rubber gloves and Band-Aids to cover your fingers can also help but don’t forget to cover your hands/gloves in vegetable oil.
If this looks to hard I got some great tips from from Jayne who sells homemade lollipops for a great price in her Etsy store (I found it only after I started making my own).
Things I tried that didn’t work: I made one batch with agave syrup instead of corn syrup. These turned out more like taffy. The bonus was they were easy to mold (it didn’t harden all the way when cool). However to keep there shape on there stick you had to keep them in the freezer. They tasted good though. This would be a good option if lots of kids were helping out.
I also made an all natural batch with a honey and sugar (no food coloring or un natural flavored oils). These worked okay and many people liked them. I felt they tasted a bit like burned sugar also they made better regular lollipops than swirly pops.
Supplies: I ordered a thermometer, lollipop mold, sticks, candy bags, flavored oils (natural lemon, bubble gum and tutti fruity), food coloring from a candy making website. However you can purchase most of what you need a craft store. However be aware that chocolate molds will melt if used for lollipops or other hard candies.